One of the first steps to using your new cPanel account, is creating yourself an email address to use on your domain. Here are the steps required to create your first email account.
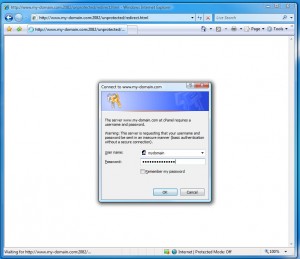
Step One: Log into cPanel
Open your favourite internet browser and navigate to http://www.my-domain.com/cpanel – where my-domain.com is the primary domain name you registered on when you first signed up for your cPanel hosting account.
You must enter your cPanel username and password, which is contained in the email you first received from Rapid Hosting labelled “New Account Information”, then click okay.
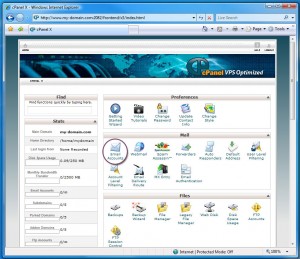
Step Two: Click on “Email Accounts”
Now simply navigate to “Email Accounts” by clicking on either the Icon or Text label.
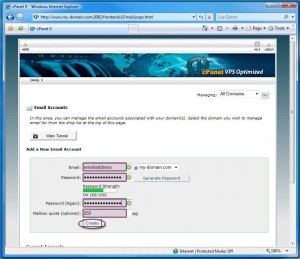
Step 3: Enter your new email account name and details
Enter all the required fields, as I’ve highlighted in purple. You must enter your desired email name, in this example “emailaddress”. The drop down box beside shows which domain is associated with this account.
Entering emailaddress will create the email account of emailaddress@my-domain.com
Enter a password for the email account, and retype that password in the box below. As you type your password, cPanel will give you a visual indication of how strong it is. Ensure to use at a minimin, letters and numbers, but upper-lower mixed case passwords with numbers will always generate higher strengths. You should always aim for a password that generates more than 40 or more points.
Mailbox quota is the amount of space this email account can store. Most typical accounts never go over about 20-30MB of space, but depends greatly on the type of emails sent and if they are rich in media/videos or just simply plain emails.
Click create when you are happy with your settings.
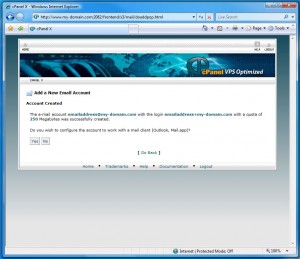
Step 4: Smile, you’ve created your first email account
And that’s it. You’ve now created your first email account. If you are ready to add the account to an email client like Microsoft Windows Mail or Microsoft Outlook Express, below are the settings you will require.
Username: emailaddress@my-domain.com
Password: as entered in cPanel when creating the account
Incoming Mail Server: mail.my-domain.com
Incoming Mail Server port: 110 (default)
Outgoing Mail Server: mail.my-domain.com
Outgoing Mail Server port: 25 (default) or 26 (for compatibility with ISPs like Telstra Bigpond and Optus Net)
Ensure you view the advanced settings in your email account settings and tick the box that says “My server requires authentication”, and that the button “Log in with the same details as my incoming mail server” is selected. This isn’t always a required step, but allows you to send email without first checking for new emails.
Cheers!
Darren Nolan


It’s super site, I was looking for something like this